

Custom Search
|
|

|
||
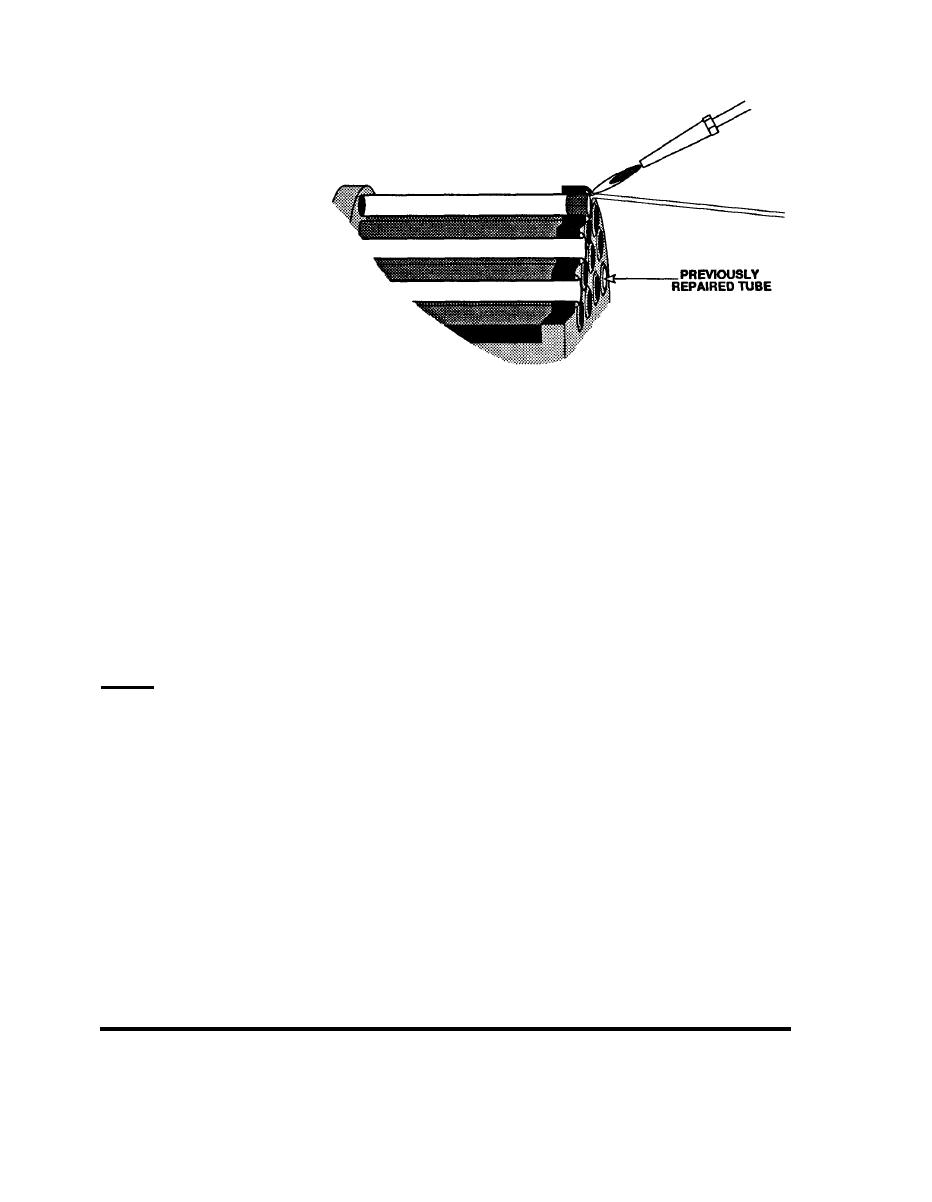 FIGURE 5-25
Plugging Tubes to
Repair a Heat
Exchanger
Remove both bonnets and dry out the insides of the leaking tubes. A hair dryer or
heat gun works well. Use a small fitting brush to clean out the inside of each end of
seal the plugs into each end.
Note that this method only seals off the broken tubes to keep heat transfer fluid out
of the other tubes. If more than 10% of the tubes are leaking, it is best to replace
the entire tube bundle. Sometimes it is easier to replace the entire heat exchanger.
This depends on cost and lead time for tube bundles.
Shells
Most solar heat exchanger shells are steel. Cracks in the metal can sometimes be
repaired by brazing or welding.
Corrosion or cracks at the inlet or outlet ports of the shell usually indicate the need
for a replacement shell. Sometimes it is easier to replace the entire heat exchanger.
This depends on cost and lead time for a replacement shell.
The heat exchanger and associated piping should be adequately and completely
insulated after repairs are made.
REPAIR
174
5.2 REPAIR PROCEDURES
|
 |
|
|
||


